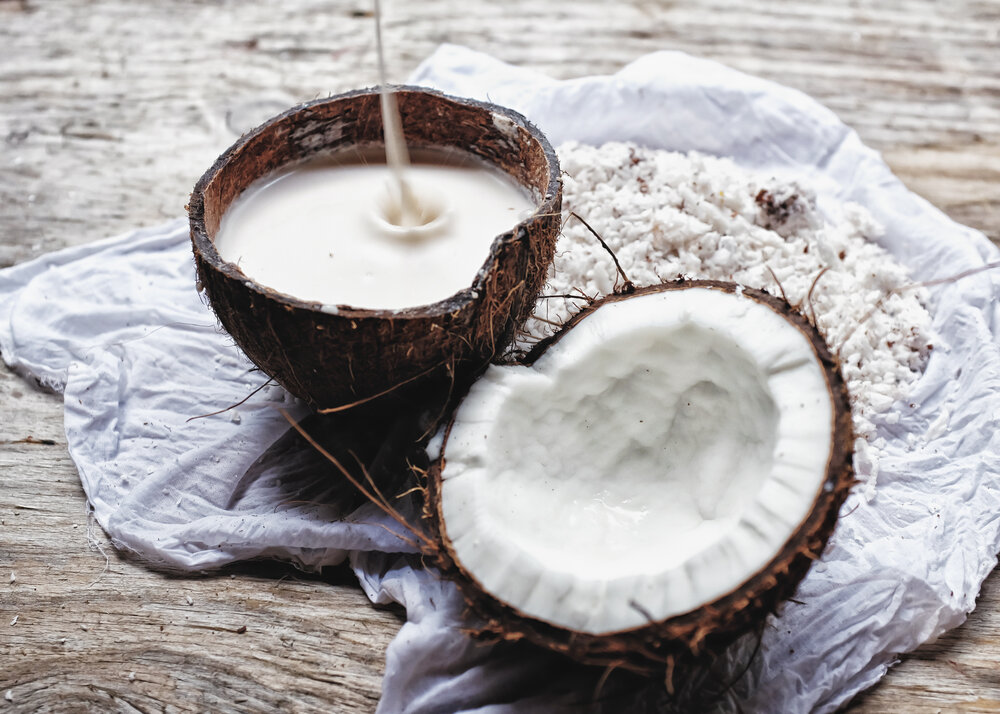
Unlike the canned or packaged versions found in stores, homemade coconut milk is richer, creamier, and completely free of additives or preservatives.
It’s also surprisingly easy to make! No fancy equipment, no obscure ingredients. Just you, a coconut, and a few minutes in your kitchen.
Let’s walk you through the step-by-step process of making fresh coconut milk from scratch, with tips to get the creamiest, most flavourful result every time.
Why make coconut milk at home?
Packaged coconut milk is convenient, but it often contains stabilisers and preservatives to extend its shelf life. Fresh coconut milk, on the other hand, is pure, allowing you to have full control over how thick or thin it turns out.
It’s also more economical in the long run. One coconut can yield up to two cups of coconut milk, plus leftover coconut pulp that can be used for baking, smoothies, or even coconut flour.
Let’s get right into the recipe.
Ingredients
Before you start, gather the following ingredients and tools:
-
1 or 2 fresh mature coconuts
-
2–3 cups of warm (not boiling) water
-
A blender or grater
-
A cheesecloth, nut milk bag, or fine sieve for straining
-
A clean bowl and a jar or bottle for storage
Tip: If you can’t find fresh coconuts, you can also use unsweetened shredded coconut, though fresh is best.
Step-by-step instructions on how to make coconut milk from scratch
1. Crack open the coconut
Use a heavy knife or a coconut opener to pierce the coconut’s eyes and drain out the water. Then tap firmly around the middle with a hammer or the back of the knife until it splits open. Collect the water separately (you can drink it or add it to your blend later).
2. Scoop out the flesh
With a butter knife or coconut scraper, carefully pry the white flesh away from the shell. Peel off any brown skin (it’s edible, so it’s optional) if you want pure white milk. Rinse the flesh to remove any remaining shell fragments.
3. Blend with warm water
Chop the coconut flesh into chunks and place it in your blender. Add 2 cups of warm water (or the coconut water plus extra warm water) and blend on high speed for 1–2 minutes until you have a thick, milky mixture.
If you’re using grated coconut instead of chunks, soak it in the warm water for 10 minutes first, then blend.
4. Strain the milk
Place your cheesecloth, nut milk bag or fine sieve over a bowl and pour in the blended mixture. Squeeze or press gently to extract as much liquid as possible. This is your first thick coconut milk.
You can repeat the process by blending the leftover pulp with another cup of warm water to extract a second, lighter batch of coconut milk.
5. Store the milk
Pour your fresh coconut milk into a clean jar or bottle and refrigerate immediately. It will stay fresh for up to 3–4 days in the fridge. Since there are no preservatives, the cream will naturally rise to the top; simply shake or stir before use.
Tips for creamier coconut milk
-
Use less water for thicker, creamier milk, or more water for lighter milk.
-
Use warm (not boiling) water, as it helps release more oils from the coconut flesh.
-
Adding a splash of vanilla or a pinch of cinnamon can give your milk a subtle flavour, and it’s great for desserts or smoothies.
What to do with the leftover pulp
Don’t throw away the coconut pulp! Spread it on a baking tray and dry it in a low oven to make coconut flour, or add it directly to smoothies or baking recipes for added fibre and flavour.
Why homemade coconut milk wins
Besides the superior taste and freshness, making your own coconut milk reduces packaging waste and ensures you know exactly what’s in your food. It’s also an easy way to impress friends and family with a truly “from scratch” kitchen skill.
